If you are into DevOps, you know about Jenkins. In fact, this is one of the leading tools in Continuous Delivery. It can automate the delivery of our code to test and even production servers. Despite its popularity, it is sometimes hard to start with Jenkins, especially if you work on windows, are a lone developer – or both. Well, this Jenkins Windows Tutorial deals with that. We will see how to work with Jenkins on Windows in the quickest and easiest way possible.
Jenkins in 30 seconds
Still confused about what Jenkins is? You can check their website, or read this nutshell definition:
Jenkins is a tool that takes your code and builds it. It can fetch git repositories, run automated tests, and even push code to your servers. Basically, you update a specific branch in your source control like the master, and Jenkins take it from here and delivers it.
Installing Jenkins
As you might guess, Jenkins is a server application by design. You want to have a Jenkins server always on and always monitoring your repositories. That’s cool, but something a lone developer may not be able (or willing) to do. One way to go is to install Jenkins in a virtual machine, but this is not as lightweight as we would like. Instead, in this Jenkins Windows Tutorial, we will go with docker containers, clean and simple.
We have a guide on how to run Jenkins in a Docker container on Windows. Read that if you haven’t, as it will allow you to have a clean installation of Jenkins. Once you have your Jenkins container installed, you can start it (if it isn’t already started) with:
docker start jenkins-srvObviously, we named our container jenkins-srv in our previous guide, so this is the container name we are using. If you changed that, use the name you chose.
The Jenkins Windows Tutorial: your first pipeline
What is a pipeline?
In Jenkins, the core component is the pipeline. Pipeline is just a cool name to define the description of the process that gets you from code to delivery. In other words, you want Jenkins to build and test code: the pipeline is the configuration that tells Jenkins just that. You can have multiple pipelines on your Jenkins server, as you may use the same server on multiple projects.
As part of this Jenkins Windows Tutorial, we will run a PHP project as an example. Jenkins can build virtually anything, as you can install and glue external components to build whatever you want.
Whether you have an exiting project or not, I suggest you try this PHP project. Don’t worry, we will provide you the code. This is important, as you will have a grasp on how pipelines work. Once you do that, you will have the skills to run any type of code in your “real” pipeline.
Creating the Pipeline
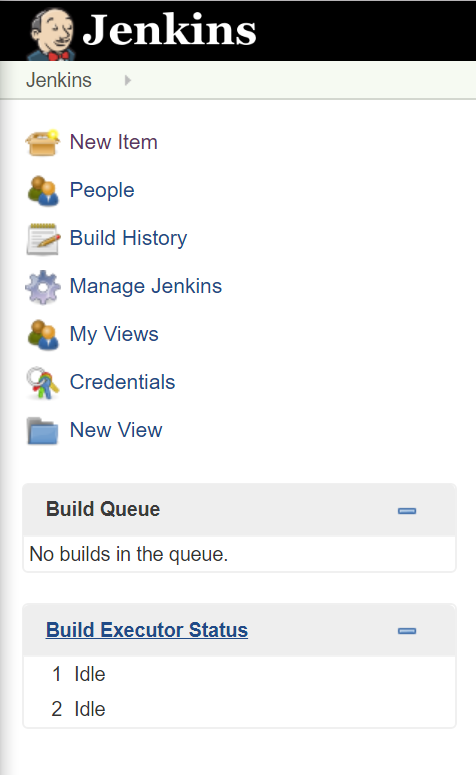
Once you log into Jenkins from your browser (for us it was http://localhost:8080), you can create a new pipeline by clicking on New Item on the left sidebar.
Now, you will have to give a name to your pipeline and tell Jenkins which kind of pipeline we want. In our case, it is a simple Pipeline.
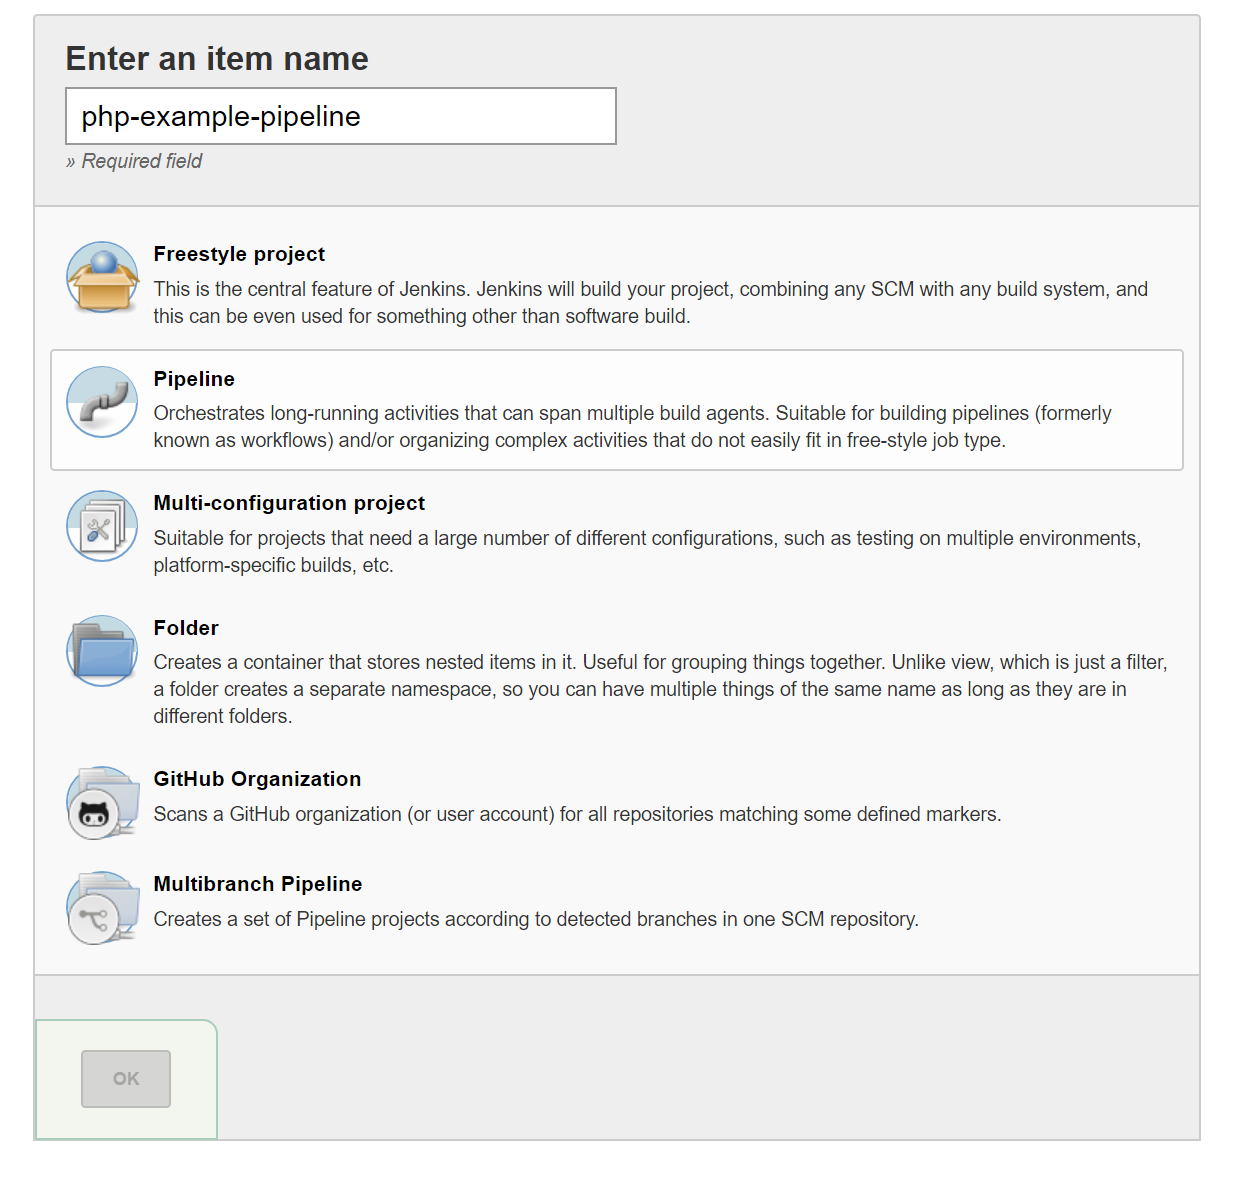
Once you input a name and select “Pipeline”, just click OK to continue.
Configure your pipeline
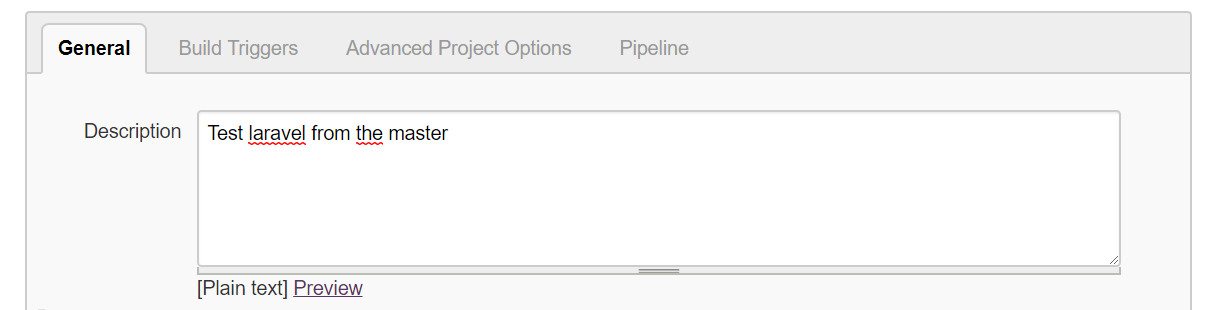
Now you will end up on a configuration page where you can tune and tweak your pipeline. In our pipeline, we will try to build Laravel, a popular and open-source PHP framework. As this is our first Jenkins Windows Tutorial, we won’t do advanced stuff here. Just enter a description to remind you what this pipeline is…
Now, scroll down to Pipeline. You will have to enter the Script or the actual definition of what Jenkins will do. Don’t worry, we got you covered.
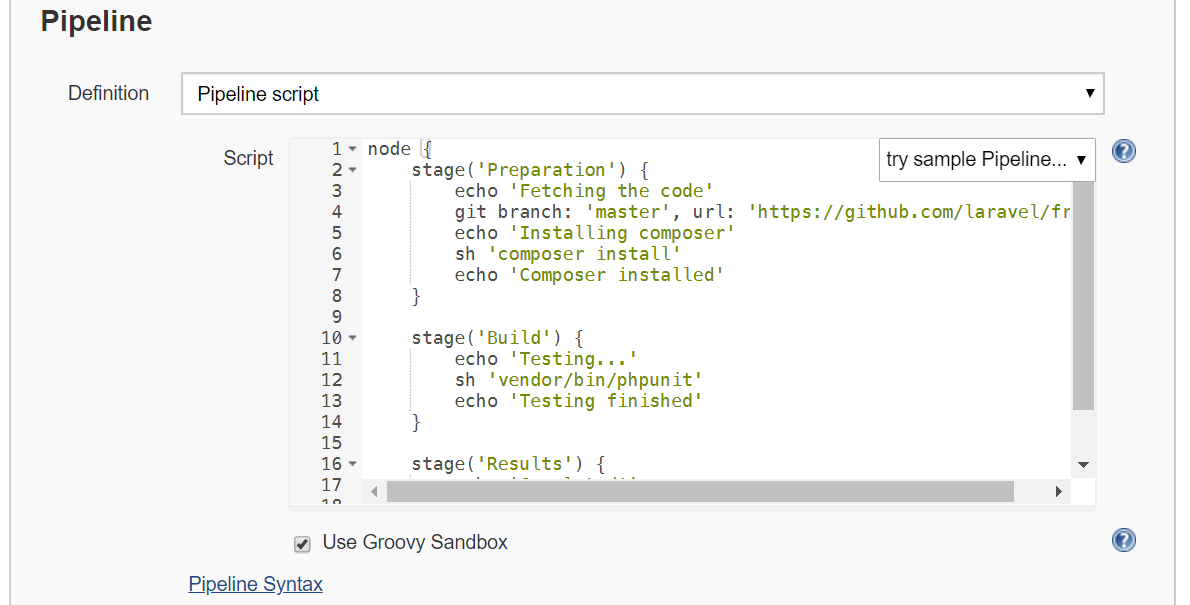
Next in our Jenkins Windows Tutorial, you will have the copy-and-paste version of the script and we will break it down.
Breaking down the pipeline
Here is the pipeline script.
node {
  stage('Preparation') {
    echo 'Fetching the code'
    git branch: 'master', url: 'https://github.com/laravel/framework.git'
    echo 'Installing composer'
    sh 'composer install'
    echo 'Composer installed'
  }

  stage('Build') {
    echo 'Testing...'
    sh 'vendor/bin/phpunit'
    echo 'Testing finished'
  }

  stage('Results') {
    echo 'Completed!'
  }
}
Everything is enclosed inside node {}, this means Jenkins will run our pipeline on a single node. That’s what you typically want in simple setups if you don’t need to run things in parallel. At this point, we have three main stages: Preparation, Build, and Results. A stage simply is a group of steps, that you define as stage('stage name') {}. The best practices of Jenkins recommend to use at least Preparation, Build, and Results – that’s what we are doing.
Inside each stage, we have the commands Jenkins will run. We added some echo to make things clearer and show some progress. However, this script simply says to fetch code from Laravel’s master repository and install composer (Preparation) and run the tests (Build). In case you don’t know, composer is the package manager for PHP.
Copy and paste that script into your pipeline definition and you are free to go. Then, click Save at the end of the page.
Building
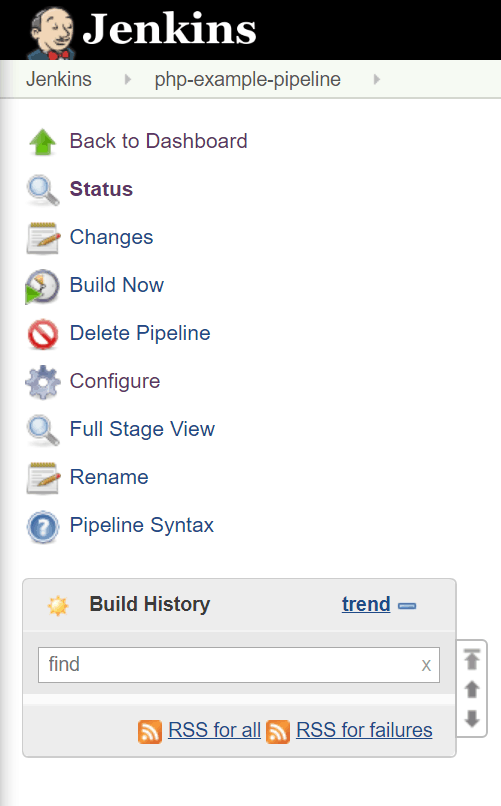
We didn’t configure our pipeline to build automatically, so we should do it manually. Once you save, you will end up in the pipeline page. Here, you can click build now to trigger the build.
At this point, your pipeline will start to build. You will see some boxes loading in the page, something like that:

If you are curious, you can click on the blue box to see the logs. Let it run for a while, and eventually… it will fail! Why? Now it is time to check the logs.

The problem is with composer install. That’s because composer is not installed in our Jenkins server. After all, we haven’t installed it, nor we installed PHP. We have failed at the preparation stage, and this should not happen. In fact, the preparation stage is about getting the code from the repository and preparing dependencies if required, not actually building. Nonetheless, the fix is easy.
Installing stuff in our Jenkins container
The build will run inside the Jenkins container. Thus, we need to install all the dependencies required for the build in that machine. To do that, we need to log inside the Docker container as roots and do some stuff. To do that, use the prompt of your Windows PC. In there, run this command:
docker exec -u root -it jenkins-srv bash
This will open a shell using the root user, something like root@91670261d429:/#. You are now inside your Jenkins Docker container, you can now run standard Linux command, without need for sudo. The container uses aptitude as the package manager. Here, we need to install PHP 7.1 and composer. To do that, you can copy and paste these commands.
apt-get -y update
apt-get -y install software-properties-common
add-apt-repository ppa:ondrej/php

apt-get -y update
apt-cache search php7.1
apt-get -y install php7.1
curl -sS https://getcomposer.org/installer | php -- --install-dir=/usr/local/bin --filename=composer
Remember that we are trying to use Jenkins to build Laravel from their official repository, which is always changing. You may need a different version of PHP! To do that, just try with 7.1 and run the build, you will see some explicative errors if you have the wrong PHP version.
Once you have installed all the dependencies you need, your build will eventually succeed. Also note that some tests may fail, but this isn’t necessarily a problem. As said before, we are basing our tutorial on an ongoing project and it is thus possible that it might fail some tests.
Wrapping it up
In this Jenkins Windows Tutorial, we saw how to create a pipeline definition in Jenkins and how to run it. We also covered how to install dependencies and tools inside the Jenkins Docker container. With that, you should be all set to play with Jenkins and run your projects.
How do you plan to use Jenkins? Do you find useful running it in a container this way? Let me know your opinions in the comments.

