In our last articles, we learned the beauty of GNS3 to create complex routing labs. However, networks are simply not complete without switches. By now, you should have a few routers (IOS images) in your GNS3 belt. Adding switches is not so easy, but it is definitely doable. In this article, we are going to give you a step-by-step tutorial on how to add Cisco switches to your GNS3 topology.
The GNS3 VM
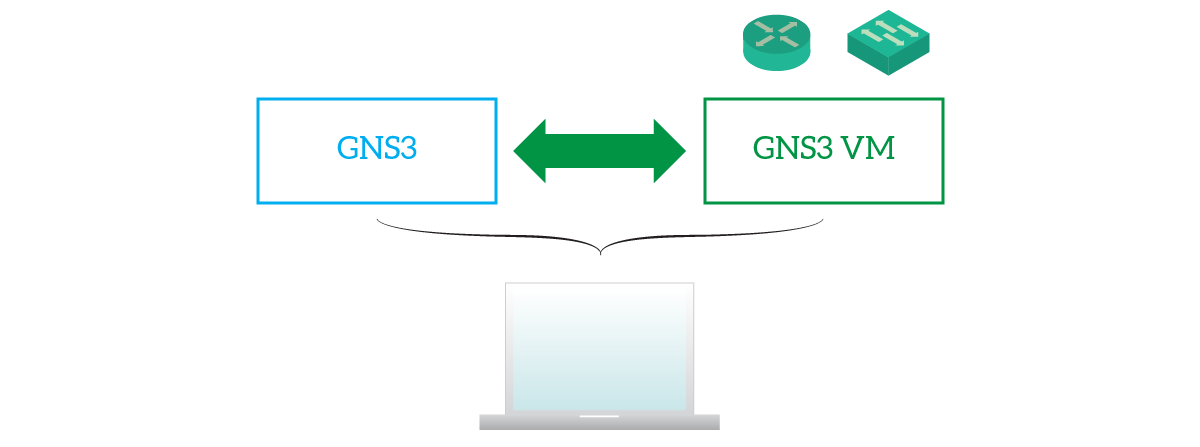
The GNS3 Virtual Machine is simply a server packed in the form of a virtual machine. Its simple purpose is to run the emulation of your devices in a centralized point: this saves you a lot of resources. In fact, by adding routers with the traditional method of Dynamips, each router eats a lot of RAM and CPU. Well, not anymore with GNS3 VM.
How does it work?
The VM acts as a central point and communicates with your PC through IP on a host-only adapter. Your GNS3 GUI sends a request to the server, which elaborates them and returns replies. As simple as that.
How can we benefit from this?
Trust me, you are going to save tons of computational resources on this. However, this is not all: you add support for L2 devices. Yes, this means you can have a manageable switch in your topology. Once you have this in place, you won’t be able to go back to Dynamips anymore.
Installing the GNS3 VM
Getting the VM
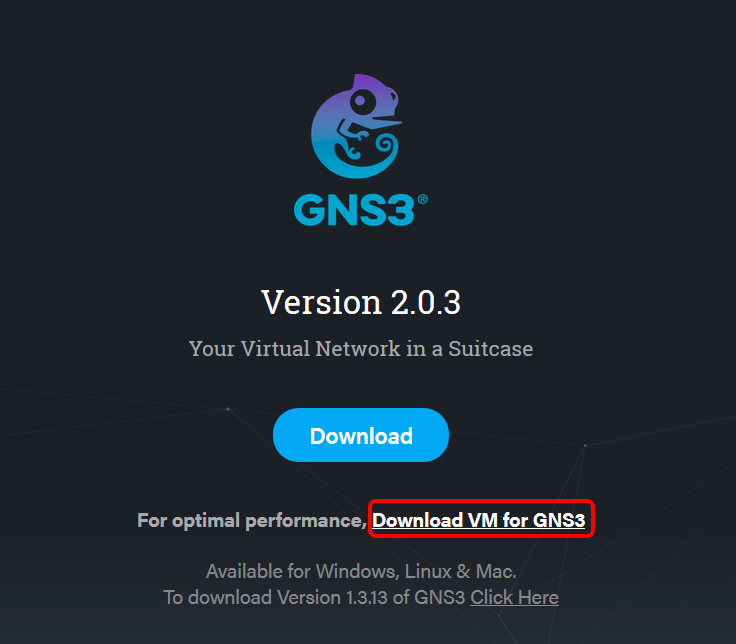
The GNS3 VM is free, as GNS3. In fact, it was developed by the same team and you can download it for free from their download page. Ensure to download the VM with the same version of GNS3: in this example, we are using 2.0.3, therefore the VM needs to be that version too. The download link for the VM is quite small, as in the picture below.
At this point, the site will propose several options: VirtualBox, VMWare Workstation, and VMWare ESXi. However, in our last article, we have already used VirtualBox since it is the only free option we have. Therefore, you can simply select VirtualBox. Since this tutorial will show you the steps to do that with VirtualBox, you need to have it installed. In case you haven’t, or you are confused about it, just check our latest article about integrating GNS3 with VirtualBox.
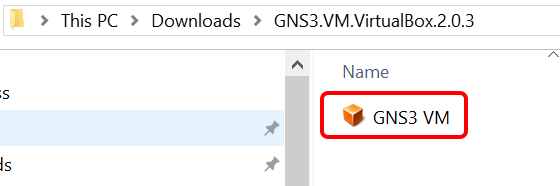
This download will give you a compressed file. You can simply un-zip it with our favorite tool (like 7zip), and you will find an OVA file in it.
The OVA
OVA is a special file format that contains Virtual Appliances. Each file contains all the details for a virtual machine: its software, virtual disks, and resource settings. It is like receiving a physical PC with all the needed software already on it. However, this is virtual: much simpler. If you installed VirtualBox correctly, your PC knows that it has to open OVA files with it. As a result, you will see an orange box icon next to the file.
Just double-click on the file to open it. This will open VirtualBox and launch the Import Wizard: a window that looks like the following one.

Here you can check all the settings, and eventually modify some. However, the GNS3 VM was packed this way for a reason. Because of that, you don’t need to do anything special here: just click Import. The import will last a few seconds, then you will have to click on Finish. And this is it. Now that we have the GNS3 VM, we need to associate it with GNS3.
Setting-up GNS3
The Local Server
With VirtualBox open, launch GNS3 as an administrator. When starting, GNS3 will raise a pop-up asking to configure a local server: today we are going to do it, and get rid of that pop-up forever. In case your GNS3 doesn’t do that, don’t panic. Just navigate to the preference and find your way to Server and GNS3 VM. You will be able to follow this tutorial anyway.
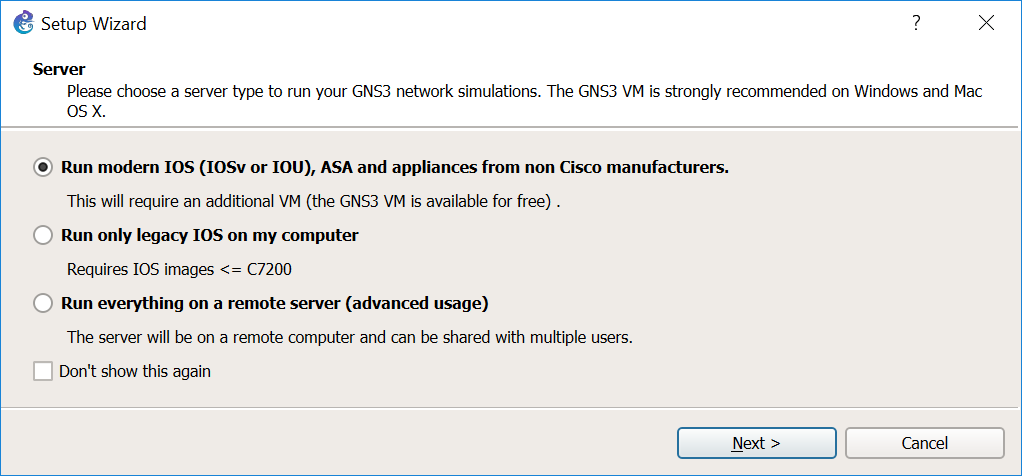
Here, be sure that you have selected the first option: Run modern IOS, which should be the default. Then, click Next to move to the following step. At this point, the Wizard will ask you to configure a Local Server. Here, change the Host Binding to 127.0.0.1. This will ensure you will have GNS3 always working, even if you are offline. Click “next” and GNS3 will try connecting.
In case you receive a failure message, navigate to the path specified in Server path and run gns3server.exe manually by double-clicking on it. Then, click “Next” again.
The GNS3 VM
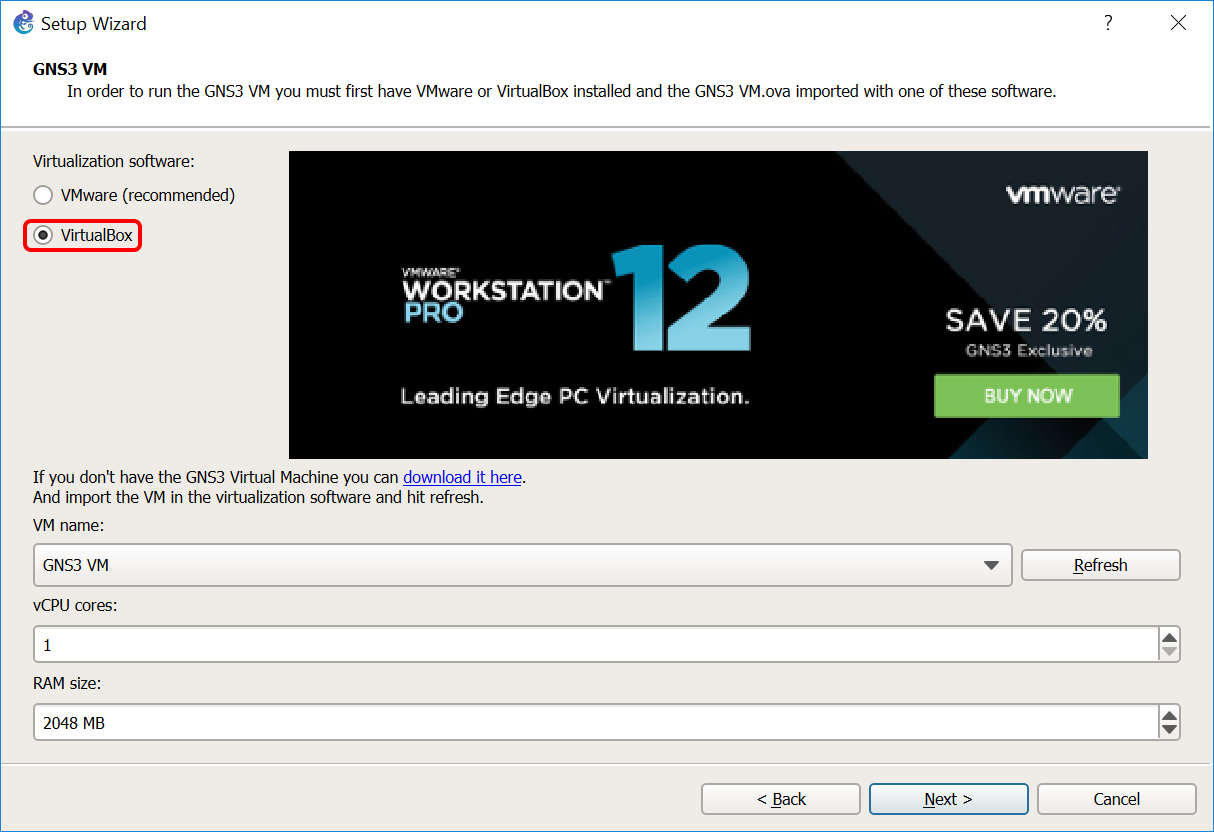
The next point in the setup is finally the GNS3 VM. Here, you just have to select VirtualBox. GNS3 will automatically search in your list of Virtual Machines for the right one. In case it has trouble finding it, just hit “Refresh” and use the drop-down to select the GNS3 VM. Once finished, click “next”.
Often times, when clicking Next you are going to have a DHCP error like the one below.
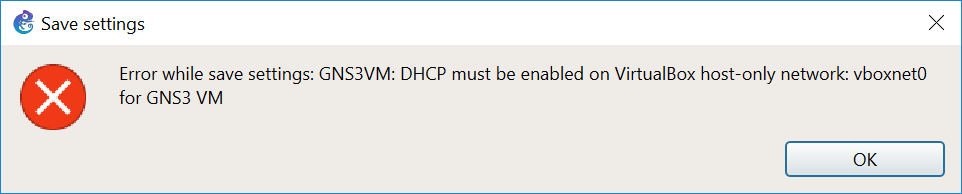
If you see this error “GNS3VM: DHCP must be enabled on VirtualBox host-only network”, don’t worry. You can continue the setup-with no problem. At this point, you are going to have a recap window, where you can click Finish.
Cisco IOS on Unix (IOU)
IOS on Unix is what we are going to use our VM for. It is a reworked Cisco IOS that runs on top of Unix, as the name says. As a result, we can efficiently run it on our normal CPU, without having to worry about ASIC emulation. In fact, IOU supports both L2 and L3 devices (including switches!). To install that, you need to have the Cisco IOU images: one for L2 and one for L3. This is copyrighted material, thus I can’t give it to you. If your company is entitled to that, just use it. In case it isn’t, the Internet is full of stuff, you can easily find it by googling. Once you have the IOU image for L2 and L3, continue with the following steps.
Installing IOU
As soon as you finish creating the GNS3 VM, the following window will appear. This is asking you to install a virtual router or appliance and gives you the options to do that.
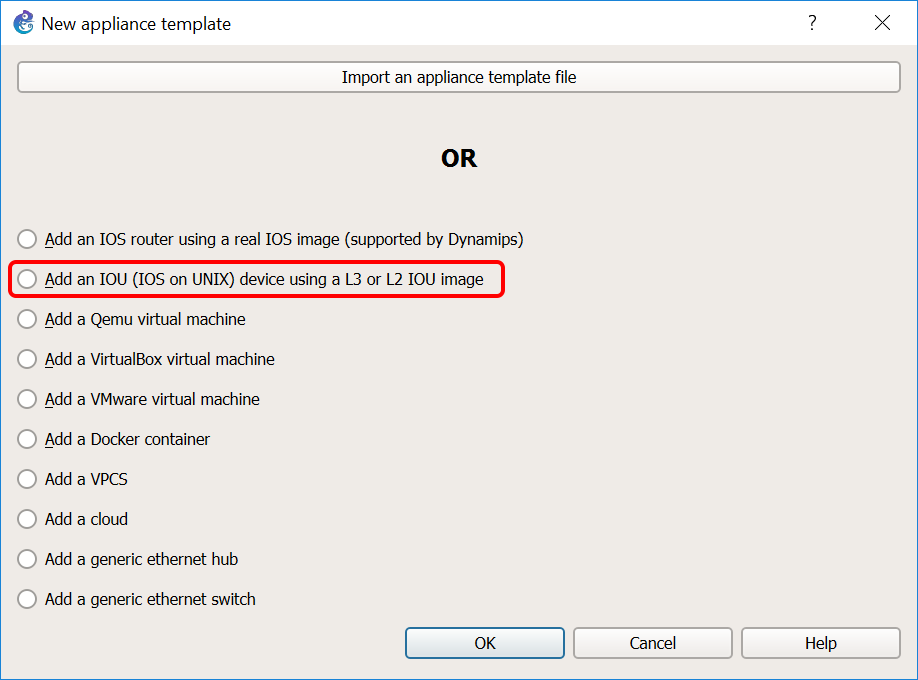
In case this window doesn’t pop-up, don’t panic. You can easily install IOU from Edit > Preferences > IOS on UNIX > IOU devices. If that’s the case, navigate to this path and click New.
A new window will appear, asking you what to do with the virtual router we are creating. However, the system will give us the only option to use the GNS3 VM, so we can only click Next.
In the next tab, you will have to give the VM a name, select if that’s a L2 or L3 device, and load the image. Below, an example of the configuration.
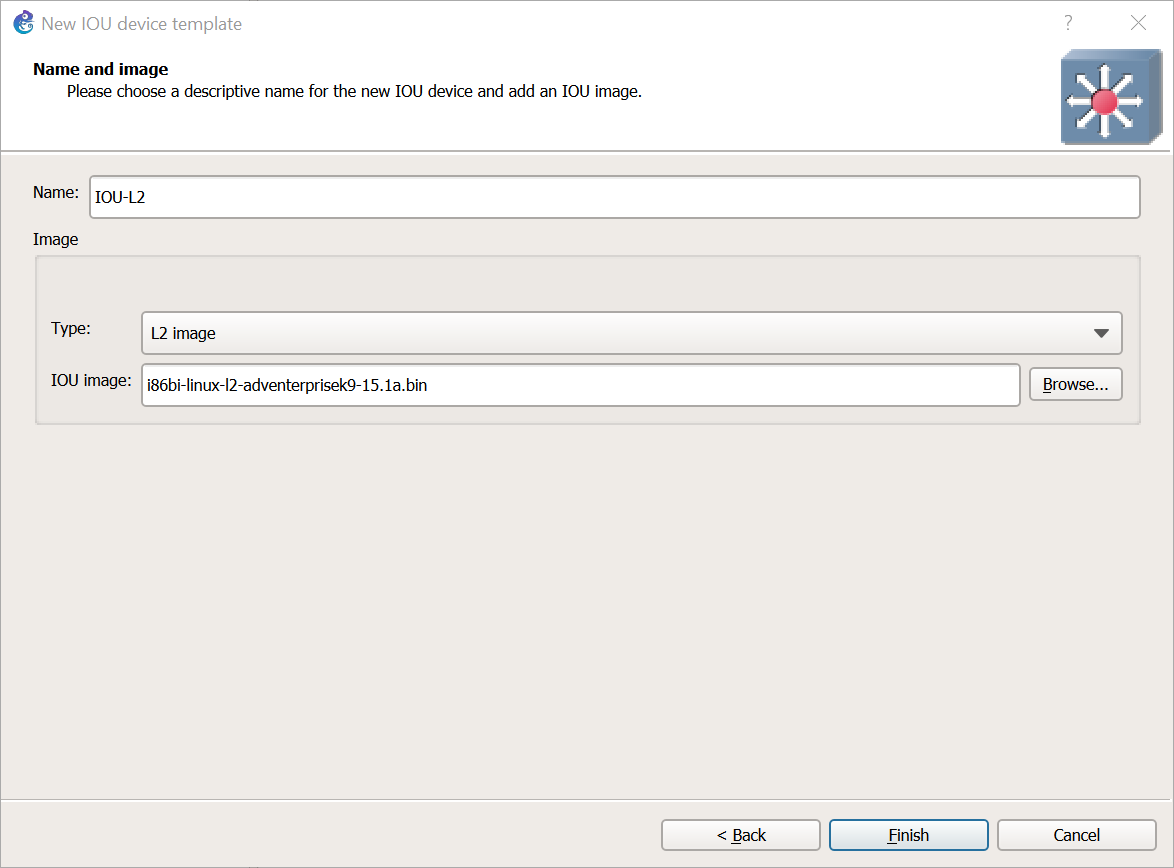
Once you are happy with the settings, simply click Finish. Repeat this step for the L3 machine, of course. If you did this process from Preferences, don’t forget to click Apply before clicking OK.
Adding the IOU License
Now you need to add the license of your IOU images. If you got them online, chances are the images will come with a license. If not, the Internet is always your friend, you will probably be able to find even something to generate a license. To add the license, you need to navigate to Edit Preferences > IOS on UNIX (not the devices’ section). Here you will have a big text box and a Browse button, which you should click.
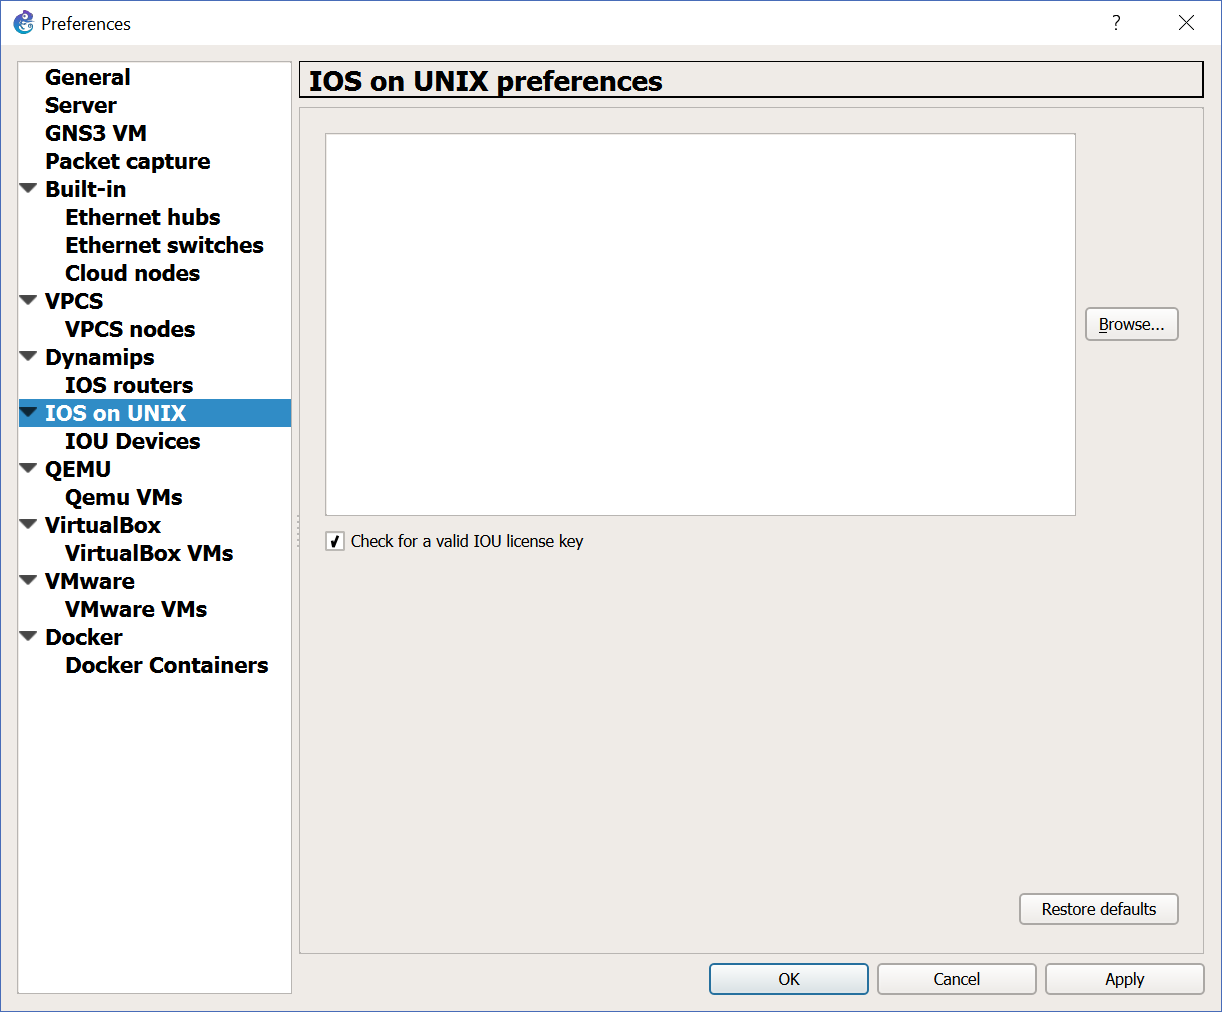
Now, select the file containing your licenses, click Apply, and then OK. The license will look something like that:
[license]
gns3-vm=<license code here>
In case you got an old license for gns3-iouvm, simply rename that part to gns3-vm.
Conclusion
Awesome! If everything went the right way, you now can use IOU images to run L2 and L3 devices. With them, you will be able to do complex CCNP and CCIE labs and boost your career. Try to drag into your project the IOU devices and see how they react, maybe when having multiple of them running.
What are your thoughts about the GNS3 VM and IOU? What labs are you going to build with them? Just let me know in the comments!

